Sunday, January 29, 2012

October 31st

I just absolutely adore the sketches at Sketches in Thyme.  They almost always seem to inspire me and they also have 2-page layouts at least once a month!  That makes me super happy!  Hence, the inspiration for this layout. 
Here is the left side of the layout.  You see several layers of paper, ribbon, lace, and Washi tape going across the page.  Washi tape (along with double sided tape underneath) were the perfect answer to hold this black lace on the page.  I've not used it in a while because I couldn't figure out how to hold it on without seeing the adhesive or stapling it!
Under the chipboard button, I took a needle and thread and ran it along the top of that Pumpkin Pie ribbon.  Pulling the thread, I made a large ribbon flower and stuck it on a Gluber.  I put the chipboard button on top and accent with smaller stars and another button from Crate Paper.
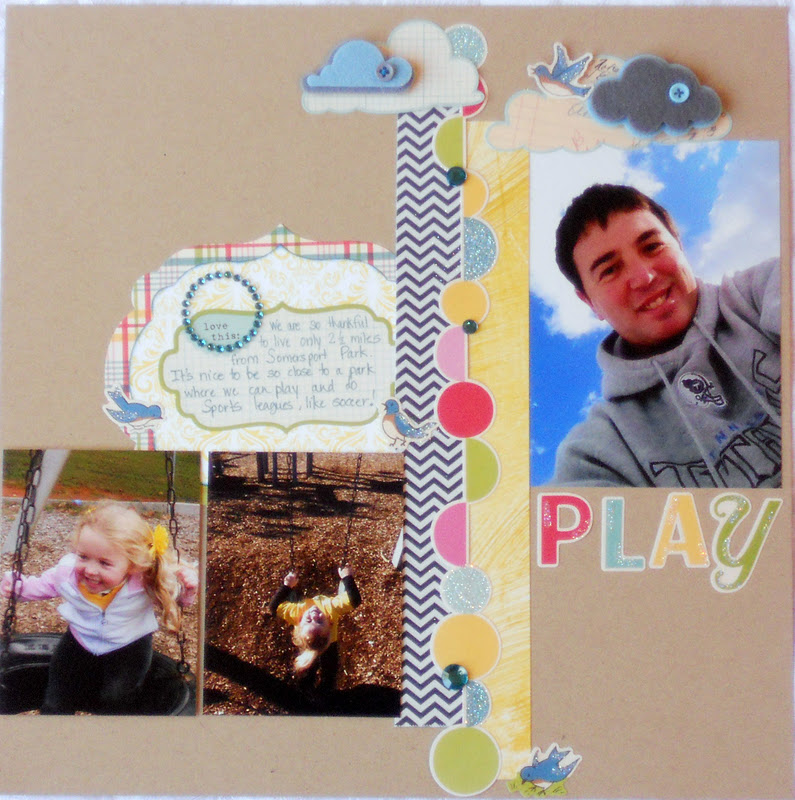
More of the same over here.  The paper is all from My Mind's Eye.  I won a large prize pack from Papercrafter's Magazine a few years ago....it just took me a while to use it all!  Still have a few pieces left!
The star under the title spot here is a larger version of the star on the left page.  I took some scrap paper and kept covering it with Washi tape.  When I had a sufficient amount covered, I ran it through my Stars #2 sizzix die cut to make a matching accent. 

Paper:  Bazzill, My Mind's Eye
Journaling Pen, ribbon, lace, sizzix die cut:  Stampin' Up!
Buttons - Crate paper
Chipboard?  October afternoon? 
Washi tape

Saturday, January 28, 2012

Play

I found a sketch for this layout over at Frosted Designs.  I liked how it looked with these photos of the hubs and daughter at our park.  I love that our park is only 2 miles away from us! 
I thought since it was a playful set of pictures, I would make a playful kind of layout. 
I gussied up the October Afternoon stickers and accents a bit with some Dazzling Diamonds glitter and some teal rhinestones.  Never enough glitter for me!  ;)

Friday, January 27, 2012

Somermud Olympics

I found a sketch over at Sketches in Thyme that I wanted to use for this page.  I had these pictures of my husband participating in the SomerMud Olympics - a fundraiser for a local charity.  Our team won the Tug of War, so I thought the Winner, winner, chicken dinner was a cute little chipboard accent for the page. 
Since the picture is super muddy, I wanted the page to reflect that look, as well.  I layed a Glimmer Screen on the background and spritzed away with some Smooch Spritz Log Cabin.  I used paper from my Studio Calico kits for the rest of the page. 
I think the products for paper and accents are Crate Paper, Basic Grey, and Studio Calico for the wood veneer letters.

Thursday, January 26, 2012

Project Life - Week 3

I've decided that I just can't get super clear pics of these layouts since they are in the page protectors.  Anyway, this is as good as I could do here. 
I must admit.....I was naught at Archivers!  I spent way too much money.....I just went to get some page protectors.......but looky here at the fun stuff I found!
I used several pieces from Studio Calico kits - the Jenni Bowlin paper and Crate Paper chipboard and stickers.  I also found the valentine paper (Jenni Bowlin) and the Simple Stories paper and stickers at Archivers. 
 
I've been using Cozi to keep up with my journaling and then I copy and paste each post into a word document that has margins set for 4X6 printouts.  I loved these little stars in the Jenni Bowlin paper, so I hand cut several of them and added Rose Red brads in the center. 
Here is just a little more of the same - I loved these pictures here.  You can't see the sign, but it says Hot and Spicy Lovers Group (in small print it has FOOD!).  Hee hee!!!  We started a new Bible study group....and we like to eat!  Hot and spicy foods welcome!!!
My daughter helped me make a Red Velvet Cherry Torte the other day.....she helped clean those bowls!  Then later she lined up all of her My little Ponies to watch a My Little Pony movie.  Too cute!

Ink, Baker's Twine, brads (SU!), Chipboard, stickers (Crate Paper), Paper (SU, Jenni Bowlin, Simple Stories)

Thursday, January 19, 2012

100% Pure Honey

I found a few pics of my daughter from her T-Ball season this summer that I wanted to scrap.  I decided this paper was perfect for the page - while I think it was actually meant for a fall line of paper, it kind of looks like the threads on a baseball to me!  So, going with the orange in her outfit, I aded another piece behind the pictures and some orange raffia as an accent.  I just kind of picked through my stash and put this together, so I can't really tell you about every little brand. 
I do know these:
Hearts - pebbles, stickers and buttons - Crate Paper, yo-yo - Amy Tan, rub-on - studio calico

Wednesday, January 18, 2012

Project life - week 2

So I am digging this whole project life idea.  Now, I will admit that this week's pages look a little washed out in the pictures.  All that snow and aqua blue and saffron yellow.....Guess I should have jazzed it up some.  It looks pretty in real life, though! 
Guess what?  Even the hubby likes this whole weekly project!  He likes the journaling and the up to date pics each week.  And it was only 80 cents to print out pics for this!  I can handle this!
This is the first side of the layout.  I only have 2 styles of page protectors right now....horizontal and vertical....
I did my journaling here, adding some washi and a lace trim strip of scrap paper.   I also figured out how to add some tiny pictures in my Cozi journaling. 
Used some snow pics and some snow accents from my December Daily kit. I also added one last ultrasound picture.  No sense in letting those things waste away!  I even tucked a carter's tag onto that pic to show where we finally started buying some clothes for the little guy!
And  here is side two.  Again - much prettier in life!  I added plenty of old making memories snowflakes and a few chipboard snow buttons.  I threw lots of scraps, some more washi and a little pebbles butterfly for a pop of color.  Finally, I added a printout from an email.  I was the featured member on the Papercrafter's Library member newsletter this week!  I was pretty excited, so I figure that deserves a spot in here! 

Tuesday, January 17, 2012

Help me make Round 2!

I need your help! I was selected to participate in a layout contest on Practical Scrappers, so I need you to vote for my layout! My layout is the first layout in this post. all you have to do is go to the bottom of the post and vote - nothing fancy! I would love to make it to the next round! Thanks for helping!
http://www.practicalscrappers.com/2012/01/layout-contest-group-5_17.html
Just in case....here is my page I made in hopes that I would make it to the second round.  I really love the way this page turned out!  I used mostly my County Fair kit from Studio Calico to make this page. 
I loved the Powder blue (AC) color for the background.  I added the studio calico paper for a splash of red to brighten up the page.  I also loved this toy and vintage kid inspired paper from October Afternoon for this page about imagination.  I wanted the girly look of some doilies on the page and had a chalkboard  piece leftover from another kit.  The title originally came from Michaels - I believe Colorbok - I spritzed it with Lemonade and then Bonnie Blue Mr. Huey and then highlighted the edges with my white Signo Gel Pen.  For a final few touches, I added some Basic Grey chipboard pieces and some Pebbles butterflies.  I love the way this turned out!  I just hope to make it to round 2!!!

Monday, January 16, 2012

Another Little Sketch Blook page

I found another sketch at Liz Qualman's Little Sketch Blook.  I have had this paper with the houses on it since the summer, I just didn't have a page I wanted to use it on.  I decided it was a perfect page to add to my First Day of School page!
My daughter had her eyes checked before going to her first day, so that's the reason for the funny glasses!  I used a lot of scraps for this.  I stamped the title and accent from the First Day of School SU retired stamp set.  The journaling spot is October Afternoon and the banners are from a set of stickers from Crate Paper - they were a crossword puzzle that I cut apart and turned into banners.  The 1 in the top corner is sassafrass lass with a little Old Olive SU clip.  Finally, the wood frame is Studio Calico - I spritzed it with Bonnie Blue Mr. Huey and wrapped some lime baker's twine around it.  I finished it off with a little pin I had laying on around on my desk! 

Friday, January 13, 2012

The other half of PL Week 1

Here is the other half of Project Life Week 1.  I used the same blue and red color scheme so it would look good across both pages. 
You will notice that white journaling block in the middle.  There I copied each day of journaling off of Cozi and made a 3 1/2 X 5 1/2" template in MS Word.  I pasted each day's journaling on the card and printed it off on Bazzill White cardstock.  I inked it with Marina Mist ink and put it on some more Countryside paper from Studio Calico. 
I had some pics of Halleigh playing with her toys - part of the journaling....and I found a cool picture on the Passion 2012 facebook website that I printed out for another part of the journaling. 
The other embellies are some buttons - I believe they are Crate Paper, some wood flourishes (Kaisercraft) and a digital journaling block.

Thursday, January 12, 2012

Starting Project Life

First, let me apologize for the glare in the pics.....it is dreary here and has been for a few days. My tripod is broken, so handheld + no flash = crappy pic!
Anyway, I have decided to attempt Project Life this year. I just decided the last week of December, so Amazon is sold out of all of the page protectors. I also decided to use my stash, so I thought this is a great way to use up my scraps and keep up with my every day life scrapping. It's worth a shot, anyway!
So....here is my title page.  I took some family pics of us from our Disney cruise for the opening page.  I also wanted to include an ultrasound of our baby boy who is arriving in just 11 weeks!  It's just a 2-d ultrasound....the good ones are coming February 1!  I still wanted to make sure he was included - in his own way! 
The paper was all scraps from other projects.  The white flowers were from a roll of ribbon that I cut apart.  The leaves are Amy Tan and the butterflies are Sassafrass Lass for SC.  Letters are AC Thickers.  Finally, the stickers on the ultrasound are from the new Simple Stories line. 
In our first week I decided I wanted to highlight going to the big state rival basketball game.  If you live in Kentucky, you know how huge this basketball game is!  Tickets for upper arena if you don't have season tickets can easily sell for $250 a ticket!  Thankfully we got a ticket through our season tickets this year - my hubby was pumped!
I used some Studio Calico state fair paper as well as Bazzill paper.  for the title, I decided to mask the game as the title and spritz the team colors.   I used Bonnie Blue and Holly Berry Mr. Huey for my colors.  I was pretty pleased with the results.  In fact, I even made a little cats paw out of letter O stickers and the middles on a leftover piece of canvas!  It turned out pretty cute!  That was more of Bonnie Blue Mr. Huey there, too. 
I'll post some more layouts as I get them done - I'm aiming for one double page layout a week.....we'll see how it goes!

Monday, January 9, 2012

Liz Qualman's Little Sketch Book

I decided to use Liz Qualman's sketch for this final Disney page (yeah for being done!!!) 
I didn't have a really great picture of Halleigh and Cinderella for this particular moment, but I still wanted to remember this.  We ate dinner at the Royal Banquet at Epcot where all of the princesses come see you.   It was a very nice dinner - part buffet and part sit down and order meal. 
Halleigh had missed her nap and was tired anyway.  She then proceeded to bump her head on the heavy marble edge of a buffet line.  Poor thing, she just whimpered and cried.  I knew it had to hurt....and it was at the beginning of the meal!  Ugh.....what a way to spend your princess dining!
 
Needless to say, Disney is the master of taking care of any special needs you may have while you're there.  The hostess brought a pack of ice with a light up Tinkerbell clothespin holding it together.   That helped a bit.  The princesses starting saying hello....she started coming out of her shell.   And then, the lady with the magic touch, Cinderella came to finish off the job!  She decided to hold Halleigh's hand and let her be the leader of the parade around the restaurant.  Was someone in a bad mood?  No more!
Anyway, that's the memory I wanted captured...even though this was the only picture we had.

Supplies:  Paper (Bazzill, Stampin Up), Patterned Paper (Jenni Bowlin, October Afternoon, Crate Paper), Ribbon  & Ink (Stampin Up), Tag (Studio Calico), Chipboard (Basic Grey, Maya road), Rhinestones (K & Company), Stickers ( Cosmo Cricket), Spray Mists (Silver Smooch Spritz,  Holly Berry Mr. Huey), Mask (Tattered Angels), Title (Glitz)

Sunday, January 8, 2012

Studio Calico Sunday Sketch

I played along with the Sunday Sketch at Studio Calico yesterday and really like the layout I ended up with. 
I started with a few pictures from the Royal Banquet at Epcot.  I love the bright white and red on Mary Poppins here, so I decided to use the Studio Calico Kissing Booth kit to make this layout.  I used both sides of the October Afternoon patterned paper for the background.  I had a regular manila tag, so I cut it in half and spritzed it first with Silver Smooch Spritz.  Then I layered a Tattered Angels mask on the spritzed area and spritzed Holly Berry Mr. Huey on top of that.  I really like the effect.  I used a piece of Crate Paper to make another tag.  I like the diagonal lines, because they help you get a nice straight cut on the diagonals!
I finished it off with a few more tags from Studio Calico, some Basic Grey and Crate Paper chipboard, and a few Crate Paper buttons.

Supplies:  Paper (Bazzill, Stampin Up), Patterned Paper ( October Afternoon, Crate Paper), Chipboard (Basic Grey, Crate Paper, Studio Calico), Stickers (Basic Grey, Sticko), Buttons (Crate Paper), Ribbon (Stampin' Up), Mask (Tattered Angels), Mist Spray (Silver Smooch Spritz, Holly Berry Mr. Huey)

Saturday, January 7, 2012

Disney's Play -n Dine layout

I had just four pictures of this Disney dining experience.  They have been sitting on my desk for about a week waiting for some inspiration.  I was waiting on my DH to get home from a long trip the other night and decided to use this old favorite sketch.  I didn't even have to pull this out of a book, I've just used it several times. 
I clustered the pictures in the center and positioned them on this yellow Bazzill paper.  I decided to use this Basic Grey paper for the background, but the yellow didn't really stand out against it.  I added a Grey piece of Bazzill paper under the yellow and it made it kind of pop against the Basic Grey paper.  To finish it out, I added this label from Sassafrass Lass and cut out the picture of the entry to the dining area for the title. 
Quick, easy....and done! 

Friday, January 6, 2012

Love Pooh

Our daughter loves these pictures of her with all of the characters.  A few months ago I was cropping at my friends house, so I bought a Creative memories Pooh scrap set to use for these pictures.   
I kept this layout simple since the paper already had design on it.  I just made a simple title using the paper and stickers in the pack and accented with a few matching stickers.  Here I just covered the flower with the Pooh.
All supplies in this layout are from Creative Memories.

Sunday, January 1, 2012

Electric Parade layout

When I went to Disney with my family this past year, I never anticipated how much I would enjoy it.  Sure, it was a lot of walking and very tiring, but I didn't grow up going to Disney, so it was so very neat to experience some of the traditional things like this Electric Parade that I'd never heard of.   We were all enthralled as the endless parade of lights and characters passed by in front of us! 

I used various pieces of Studio Calico kits for this layout. 
Paper (Bazzill, Basic Grey, American Crafts), Letter stickers (October Afternoon), Border sticker (Sassafrass Lass for Studio Calico), Buttons (Crate Paper), black accent piece (Glitz), Rhinestone flourishes (Prima)